With Windows 10, Microsoft made an unexpected and unpleasant change to remove the end-user to control updates installation. Now home edition and the Pro edition does not allow the user to easily control how updates are supplied and installed on their operating system. In updating the application's user interface Windows settings, the user can defer or postpone the updates, but there is no option to disable them completely and check for updates manually and selectively install. If you can not tolerate this update automatically nonsense day and you want to control your updates again, here's what you can do to stop and disable Windows Update in Windows 10 RTM.
Method 1. Using the Windows Update service.
Windows Update is actually a process of regular Windows service. Once it is stopped, the updates will not be downloaded and installed. So to disable Windows Update in Windows 10 RTM , you can disable the appropriate service. Here's how you do it.
- Press Win + R shortcut keys to display the Run dialog box. Tip: See the complete list of all Windows keyboard shortcuts with Win keys. Type the following command in the Run dialog box:
services.msc
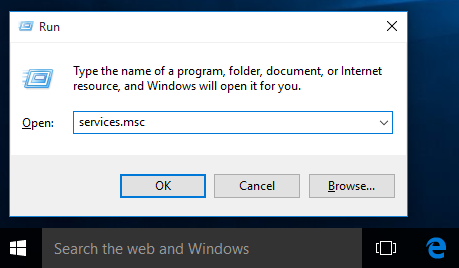
- In the list of services, disable the service called Windows Update as shown below:
 Double click it and set the startup type to disabled.
 - Restart Windows 10.
This disables Windows Update and prevent Windows 10 to download the updates automatically and install them. Every time, when you want to check and install updates, you can simply activate the service.
Method 2. Use the Group Policy Editor (Pro, Enterprise and Education Edition only)
In Windows 10 Pro, Enterprise and Education editions only, you can use group policy to set Windows update to notify you of updates, but not download them. It is useful when you do not want to put the forced day but do not want to completely disable the Windows updates. Each time new updates are available, Windows 10 will show you a toast notification about them:
- Press Win + R keys set shortcut on the keyboard open the Run dialog box. Tip: See the complete list of all Windows keyboard shortcuts with Win keys. In the Run dialog box, type the following:
gpedit.msc
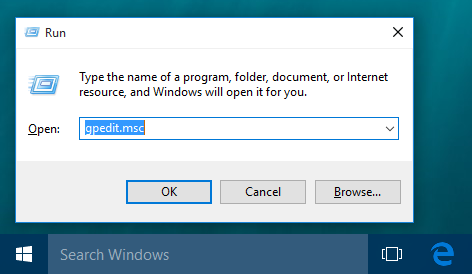
- Go to the following path:
Computer Configuration -> Administrative Templates - > Windows Components -> Windows update
- Enable named group policy Configure automatic updates and set it to "2 - notify for download and notify for install "
 now, open the app settings -> update and secutiry -> Windows updates. Just click on the "Check for updates" button. This is very important , because without this trick Windows 10 will not apply the changes you made and will not stop downloading and installing updates automatically.
 - If Windows 10 is shipped without the Group Policy editor, apply a registry tweak. Open Registry Editor and navigate to the following registry key (create if you have not already):
HKEY_LOCAL_MACHINE SOFTWARE Policies Microsoft Windows WindowsUpdate AU
There, create a new 32-bit DWORD value named "AUOptions" and set 2:
 again, open the Settings app -> update and secutiry -> Windows updates. Just click on the "Check for updates" button. This is very important,
Restart Windows 10 and you are done. Note that despite the optional set of Group Policy, Windows Update says "available updates will be downloaded and installed automatically." If she ignores your policy setting, and then try Method three.
Method three. Use Winaero Tweaker
You can disable Windows Update in Windows 10 using Winaero Tweaker . Go to Behavior -> Windows Update Settings:

Use this option to avoid saving time and registry Group Policy editing
Method Set four .. your wireless or cellular to metered
of Windows 10 does not download updates automatically when you are on a metered connection. You can use this feature to control when updates are downloaded and installed. Once you have completed the updates to install, you simply configure your meter without connection
To define a connection as a counter, follow these steps :.
- Open the Settings app by pressing Win + I and go to Internet & Network section.
- Click Wi-Fi on the left, then click "Advanced Options" on the right.
- Enable the "Set as measured connection" switch to the On position
Note that if you are on an Ethernet connection, you must set as Metered as described in Article . Set the Ethernet connection as measured in Windows 10.
This is tell us which method is most appropriate for you
..
0 Komentar